The importance of a Liver Detox
Those who suffer from chronic illness or adrenal fatigue know the daily frustration of experiencing low energy, rashes, brain fog and an overall feeling of malaise. When I was in the process of trying to heal my body from extreme inflammation and leaky gut I found few things would help energize me and fight off the incoming brain fog I would get by mid morning. It was clear to me from the colossal amount of supplements I would take regularly and the manifestation of daily rashes that my body was having trouble detoxing. Seeing as the liver is the body’s major detoxing organ, it dawned on me that a liver detox drink in the morning could possibly help clear the toxins my body was having trouble clearing on it’s own. Below you will find step by step instructions on how to prepare this liver detox recipe. This recipe is suitable for those with chronic illness or in overall good health looking for a reset.
I would recommend using a high powered blender instead of a juicer because preserving a small amount of pulp will contain fiber to slow down absorption and prevent a large spike in blood sugar. Over the years I have chosen to modify this recipe that was handed down to me from my mother. You will find that altering the ingredients to an extent may enhance the flavor to your liking.
Suggested Use:
Chronic illness:
This drink can be extremely helpful to those who experience fatigue regularly. I find that this nutrient dense juice provides a burst of energy to those who are experiencing any form of digestive malabsorption because the blended fruit and vegetable juices are micronized making digestion and absorption easier. I used to consume this drink daily especially during times when I felt weak, had a long work shift or was studying for an upcoming test. In order to enhance the detox effect of this drink, I would refrain from eating any other food prior and a minimum of 2 hours after consuming, waiting up to 4 hours before consuming your first heavy meal. For the remainder of the day after consuming this detox juice, drink lots of water, preferably lemon water.
Overall Good Health:
This detox drink is perfect for those wanting to hit the reset button on their body’s health. I would recommend that this drink be prepared every morning for a week straight any time you feel the need to detox. I would recommend doing this 2-4 times a year, especially following the holidays and prior to summer.
Materials Needed:
- High Powered Blender (Blendtec or Vitamix) (a cheap blender will not be capable of micronizing the contents into a juice form and the drink could come out chunky)
- Strainer


Ingredients:
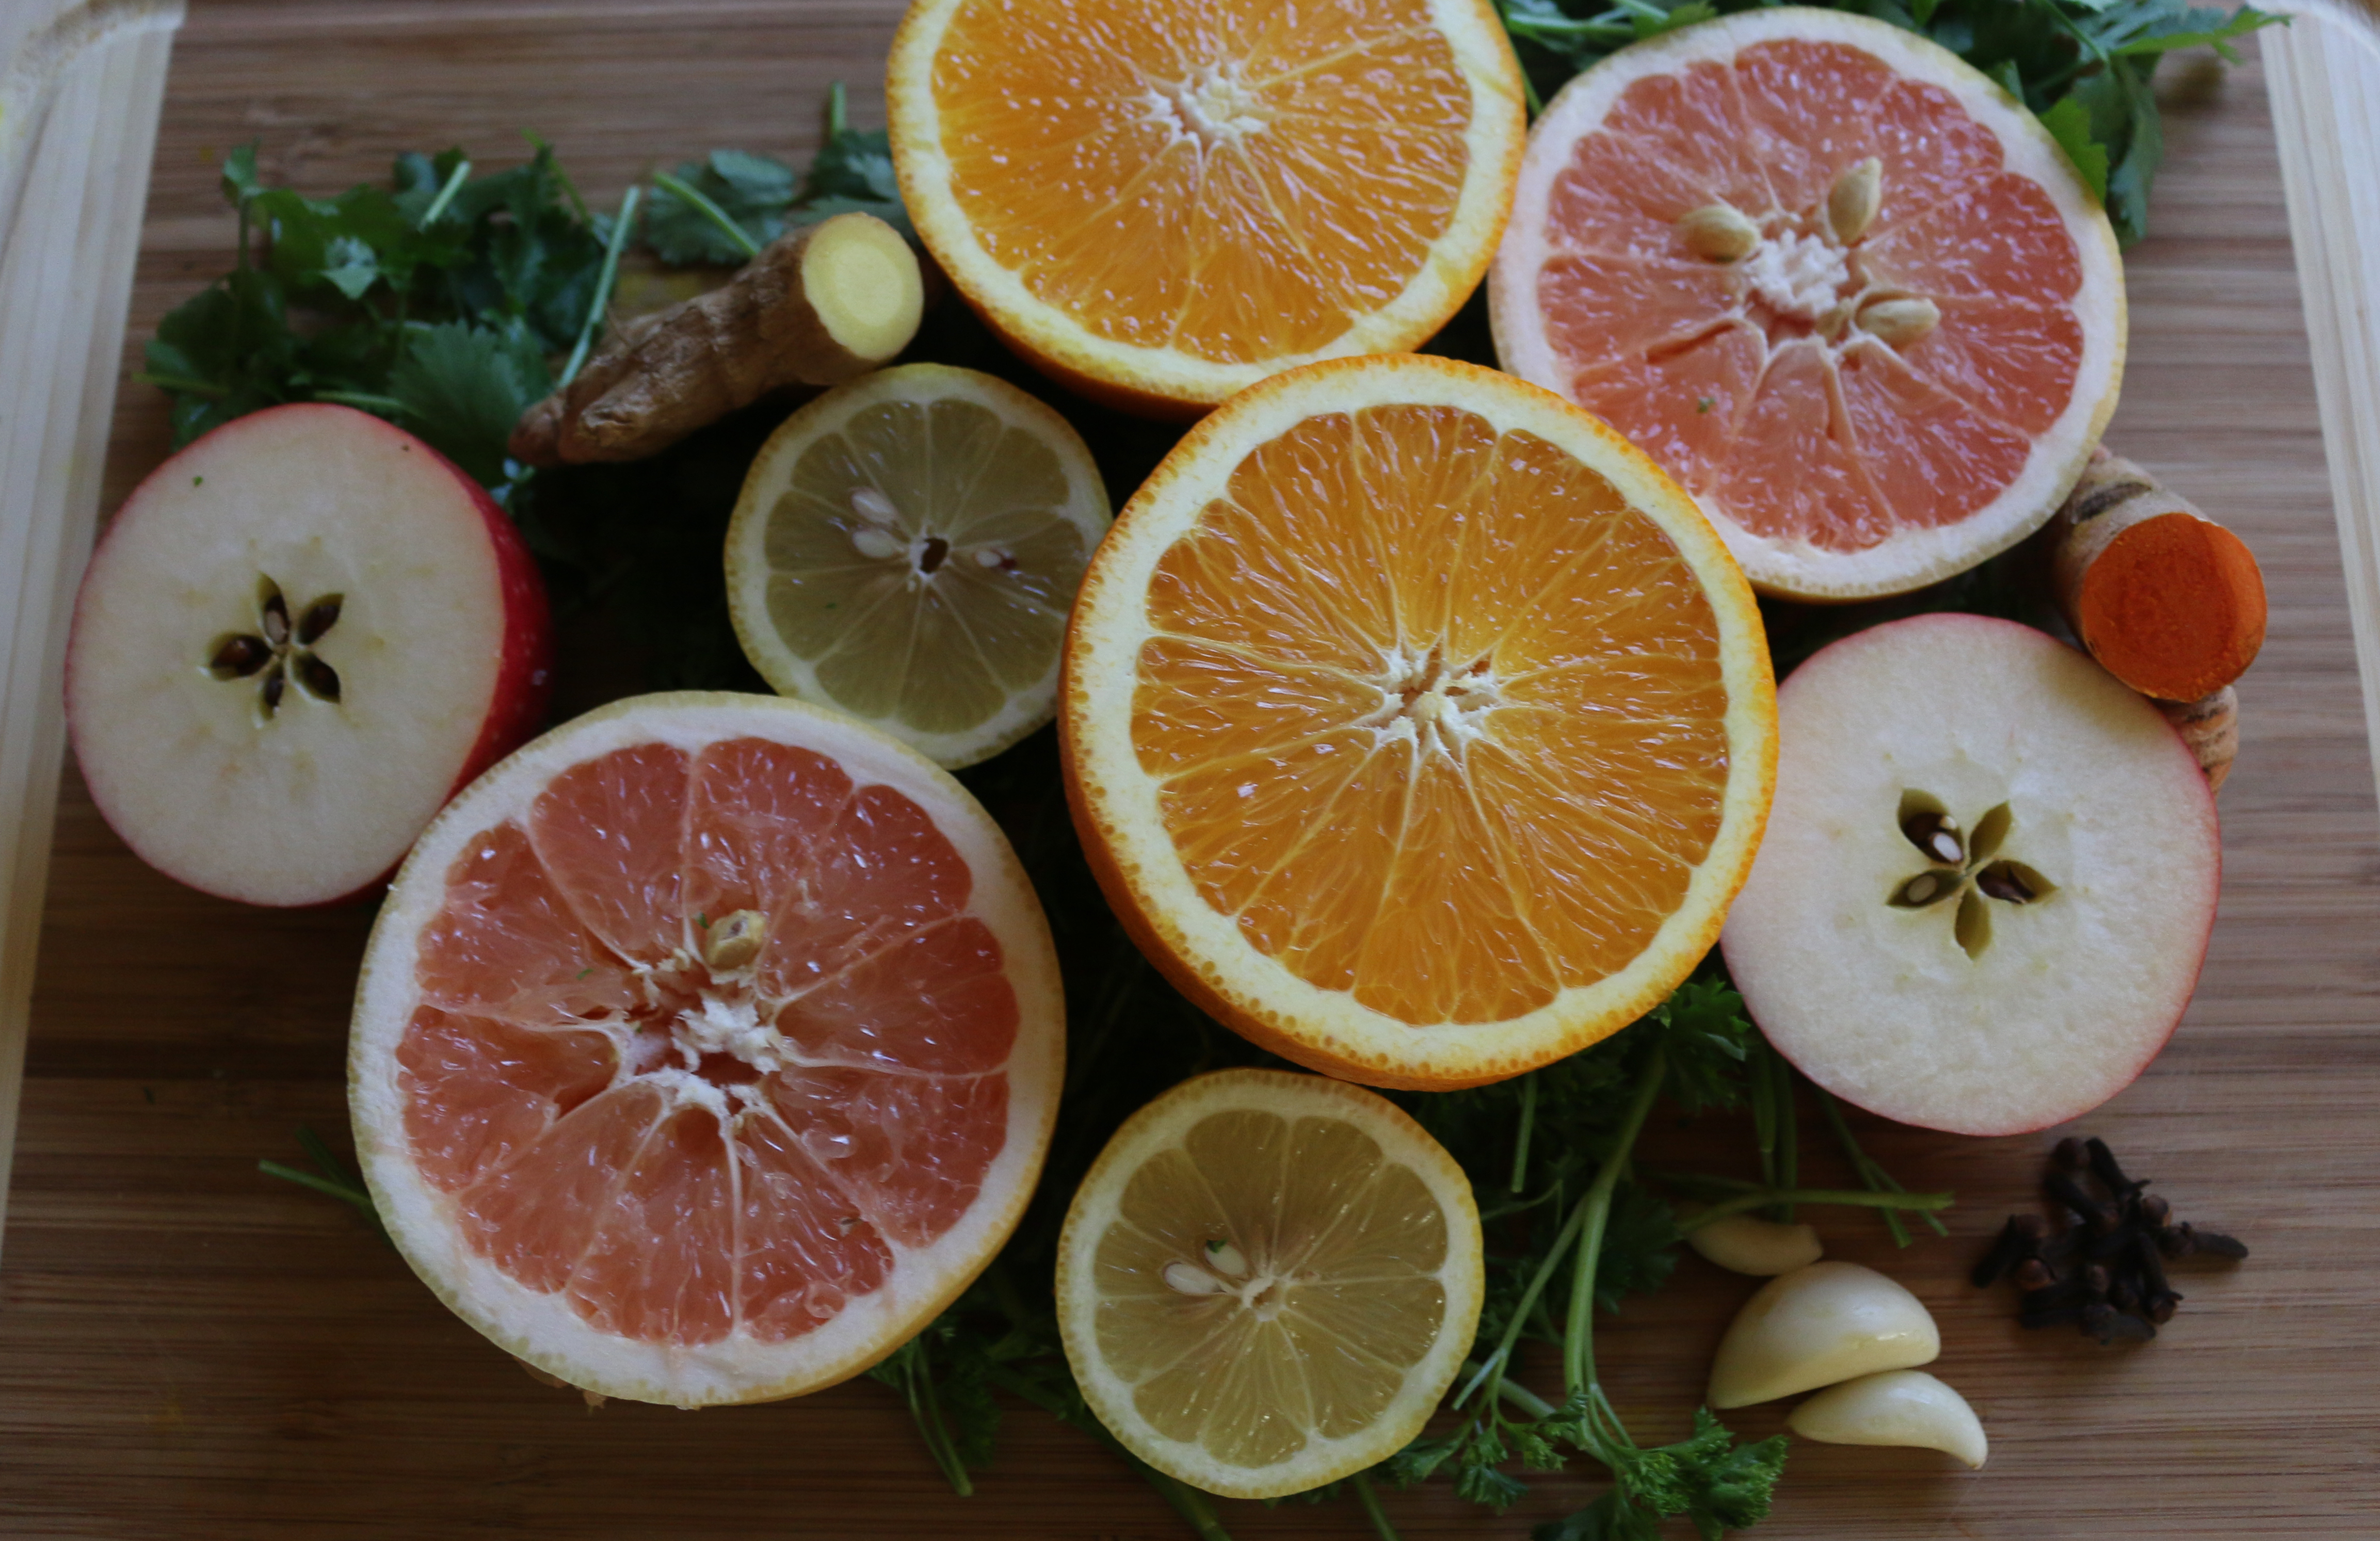
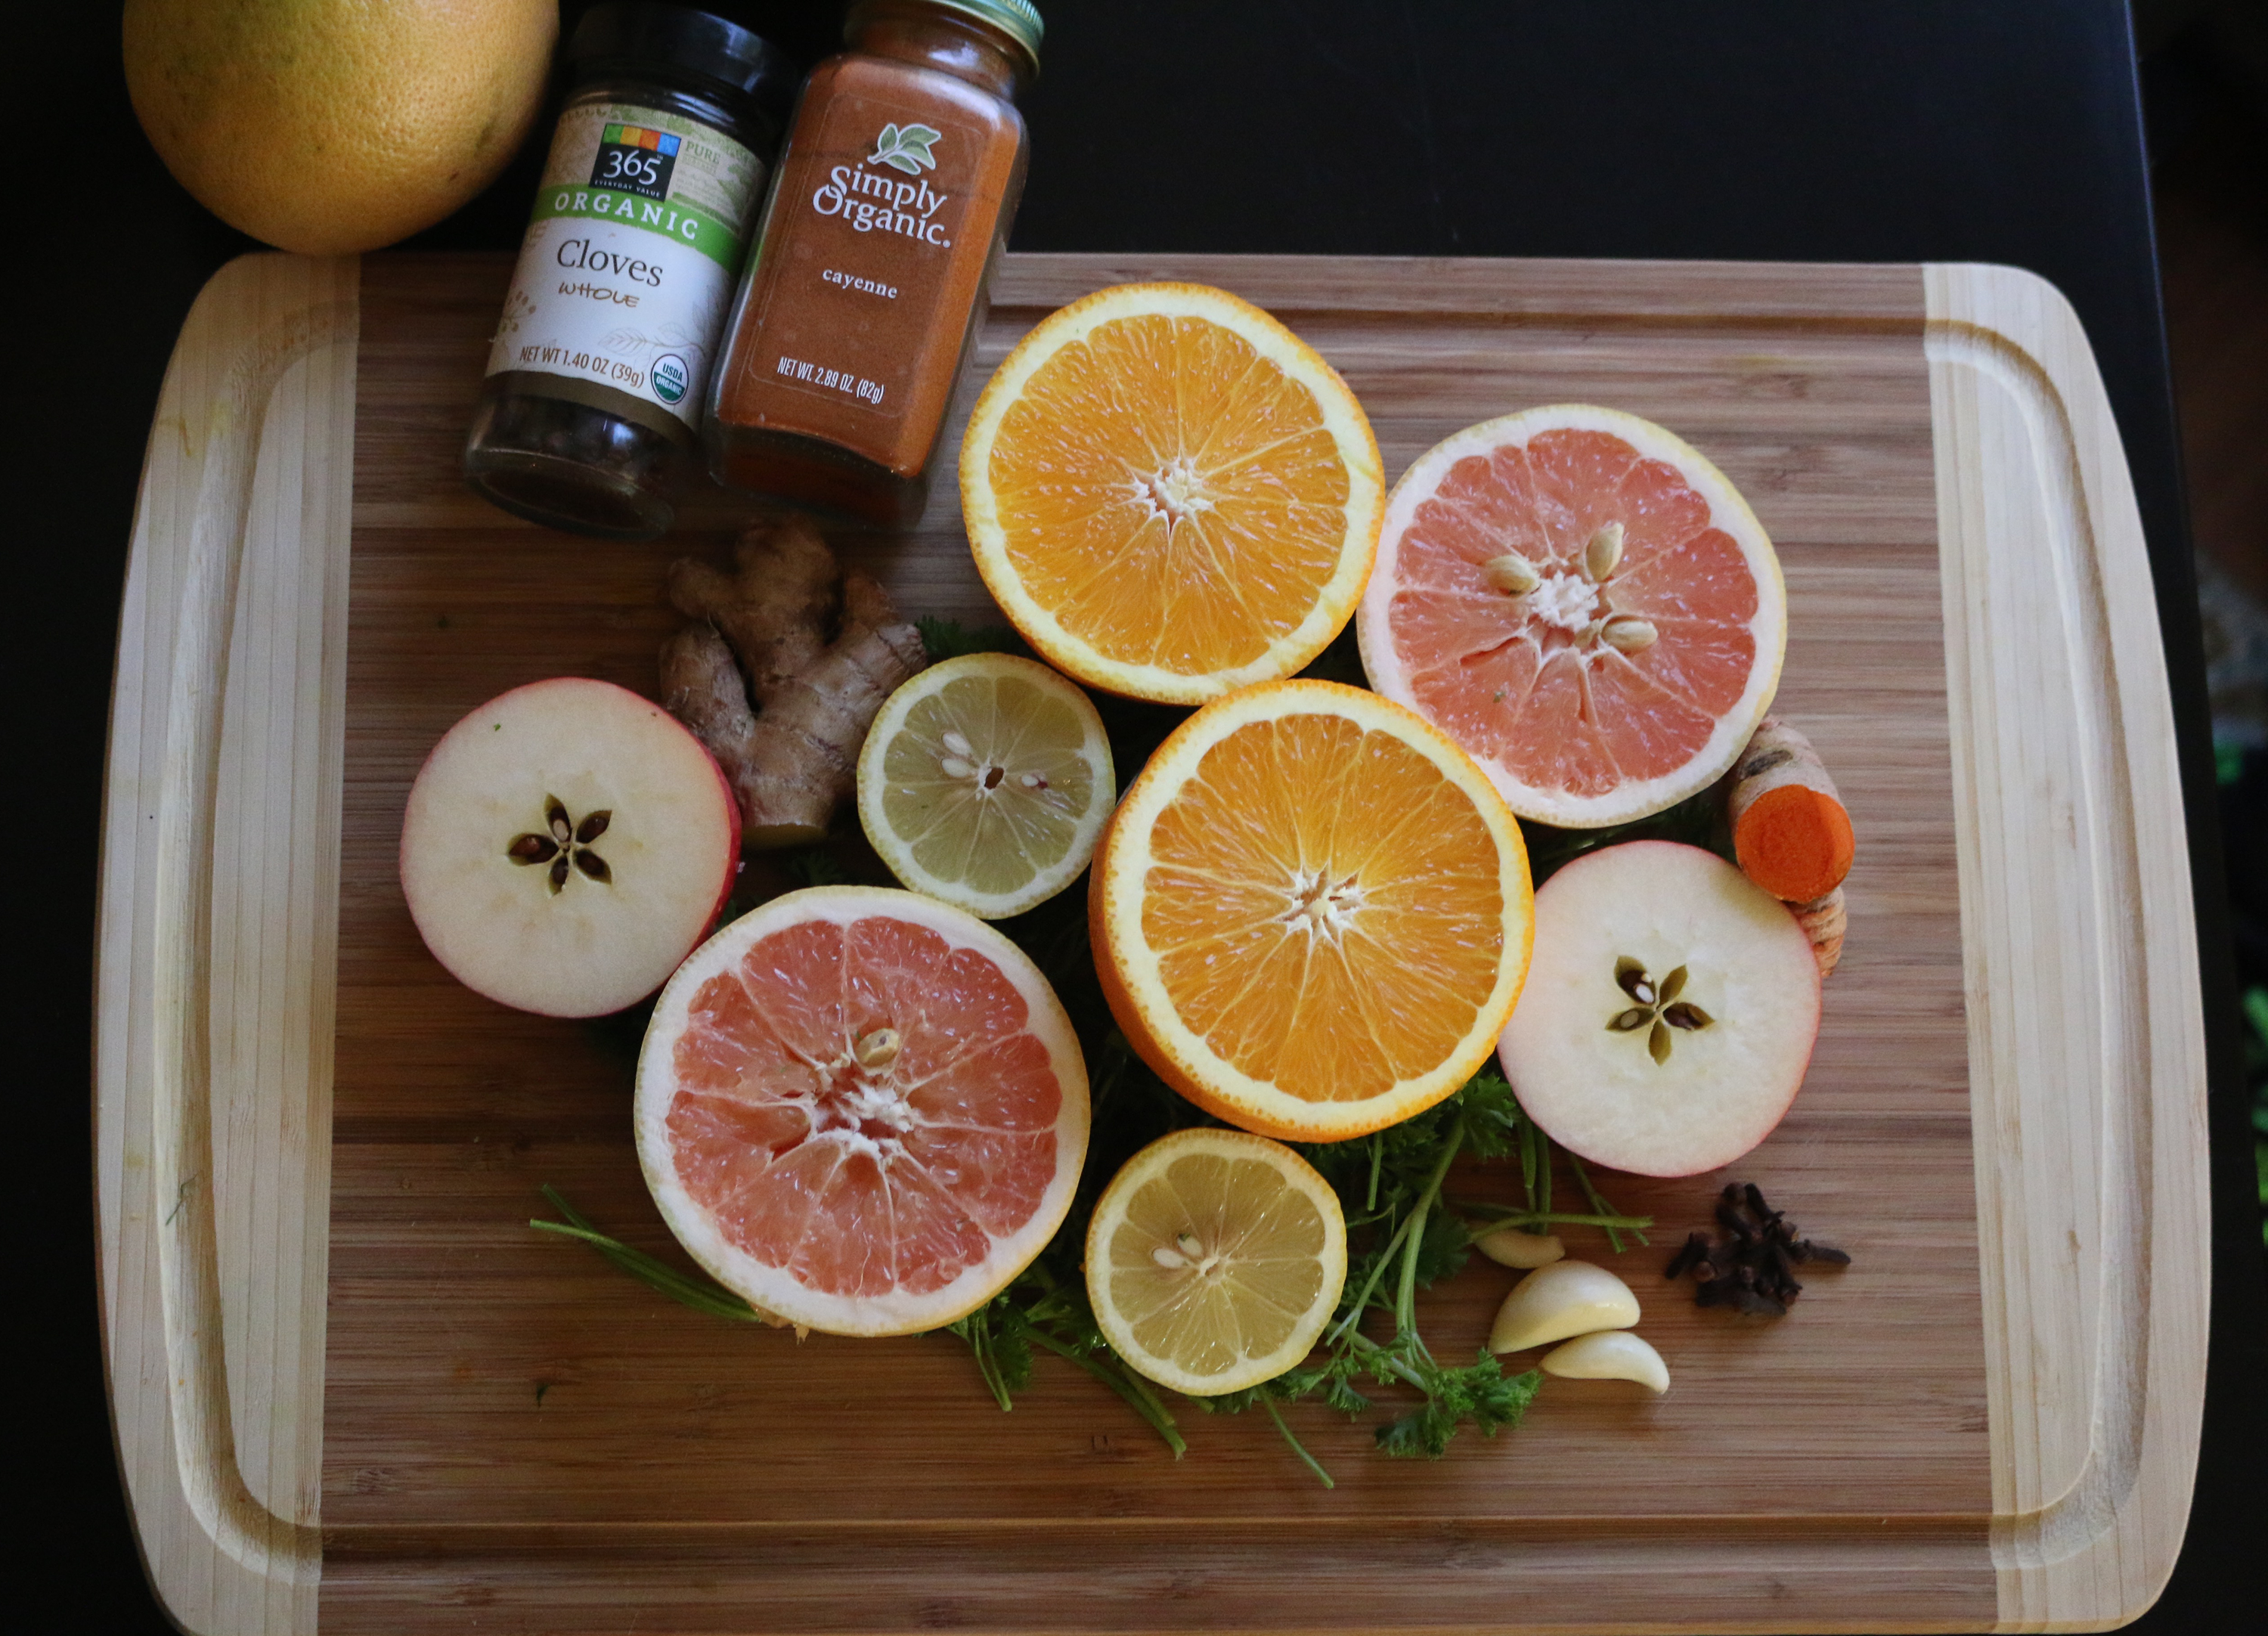
1 Orange
1 Grape Fruit
½ lemon
2 cloves of garlic
6-9 whole cloves
bush of curly parsley
bush of cilantro
pinch of cayenne pepper
water
Optional Add ins:
½ an apple
1-2 tsp fresh ginger
1-2 tsp fresh turmeric
pinch of black pepper
1 tablespoon of maple syrup
Directions:
- Slice in half your orange, grape fruit and lemon. Take a knife and cut around the edges, eliminating the outside shell and excess pith (a little white showing is okay). Toss into the blender.
- Take a handful of parsley and cilantro and throw into blender.
- Toss the remaining ingredients into the blender and fill with water until water reaches the half way mark.
- In regards to the optional items, I chop up fresh ginger and turmeric root, and add it into the drink to reduce inflammation and aid digestion. If you choose to add turmeric, I would recommend adding a pinch of black pepper (this helps the turmeric root absorb better.)
- Once all the ingredients have been added to the blender, blend on high until the juice reaches a semi frothy liquid consistency.
- At this point, you have some flexibility on the final product, taste the drink to determine whether you want to add more cayenne for a spicier flavor, or add a tablespoon of maple syrup to create a sweeter flavor. For those who do not like pulp, I would recommend straining your juice, but for those who don’t mind, I usually keep 25-50% of the original plant fiber pulp as it helps prevent my blood sugar from spiking and helps prevent a possible headache! (this is helpful for PCOS gals). ENJOY!